

How to Connect the Pressure Switch for Audi LED Emblem Installation
We now offer a direct plug pressure switch for installing our 2nd Gen Dynamic Audi LED emblem! This allows for a simple plug-and-play setup without needing to figure out which wires to connect.
Frequently Asked Questions (FAQ)
What is the difference between "With Pressure Switch" and "Without Pressure Switch"?
- With Pressure Switch: We will include the pressure switch in your package for an easy plug-and-play installation.
- W/O Pressure Switch (Without): The pressure switch will not be included. You can manually connect the wiring yourself using the step-by-step instructions provided in the box.
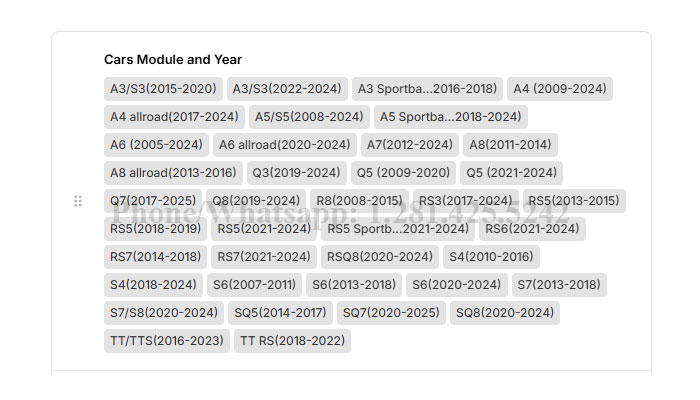
Currently, our pressure switch fits the following vehicle models and years listed below. The pressure switch features a 3-pin plug. If you don't see it in the exact location shown in the photo, please check the surrounding area under your hood.
Compatibility
It fits for most Audi cars listed in our options. You can choose from our options or consult us to check if it fits your car’s model and year.
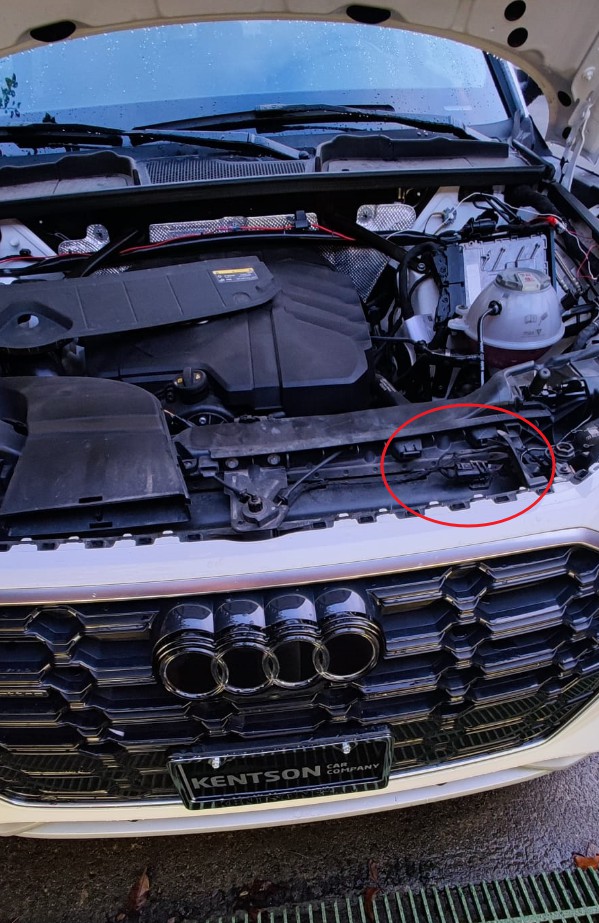
Where do you find the plug to connect?
When you open the hood, you will find two plugs in the right corner. One plug connects to the LED emblem, and the other connects to the Pressure Switch.
If you don't see it in the exact location shown in the photo, please check the surrounding area under your hood.

Installation Guide: Wiring the LED Emblem to a Pressure Switch
The emblem and plug both use a three-wire system (Black, White, and Red). To install, simply cut the pins off the emblem side and splice the wires together by matching the colors: Black to Black, Red to Red, and White to White. > After connecting the wires, make sure all connections are well-insulated. Once that's done, locate your car's pressure switch plug and connect it to supply power to the unit!
